
Introduction
We'll start by prepping parts that require loctite/glue so that they have time to set.
-
-
Warning: The Loctite 410 can be messy, we recommend covering your workspace with something disposable to protect it.
-
Apply a thin layer of the Loctite 410 to the inside of the nut well.
-
Gently slide an M3 Lock Nut into the nut well, ensuring that the locking side (the white ring) faces upward.
-
Repeat for the remaining two Idler Subassemblies, for a total of three.
-
-
-
Apply a light line of Loctite 410 to the inside channel of the Ball Rail Carriage Top.
-
Press an M3 37mm Standoff into the Loctite.
-
Repeat for the two remaining Ball Rail Carriage Top, for a total of three.
-
-
-
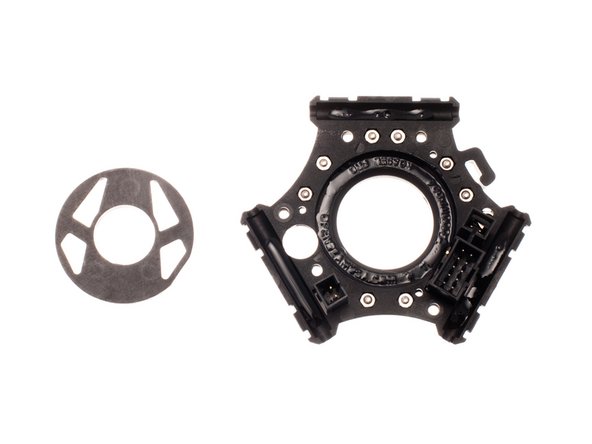
Apply a thin line of Loctite 410 into each channel of the End Effector Bottom, and along the inside ring.
-
Press the End Effector Interior Duct into the center, paying careful attention to it's alignment.
-
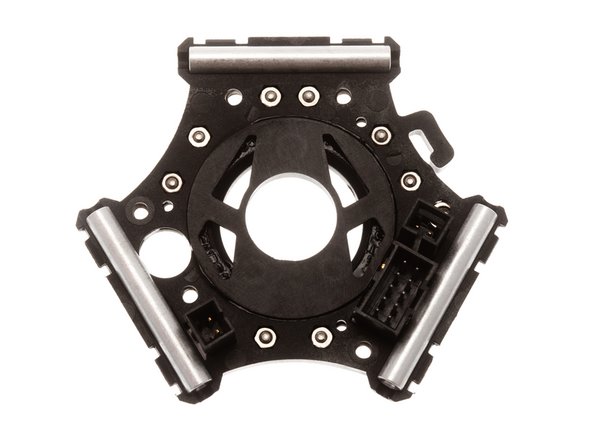
Press M3 37mm Standoffs into each channel.
-
Set completed parts aside to cure.
-


Cancel: I did not complete this guide.
One other person completed this guide.