
-
-
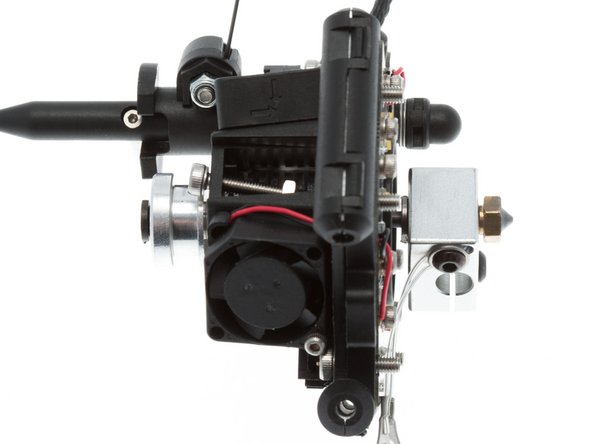
We now ship all K-Head collection kits with 3D Printed hot end clamp parts.
-
-
-
The parts work by clamping onto the top edge of the groove mount and the top of the K-head. Screws apply a compression force, pressing the top of the groove mount surface into the plastic part below. This allows us to account for different manufacturing tolerances and provide a rigid mounting to the machine.
-
Part Identification: K-Head = Green, Bottom Clamp = Purple, Upper Clamp = Blue
-
-
-
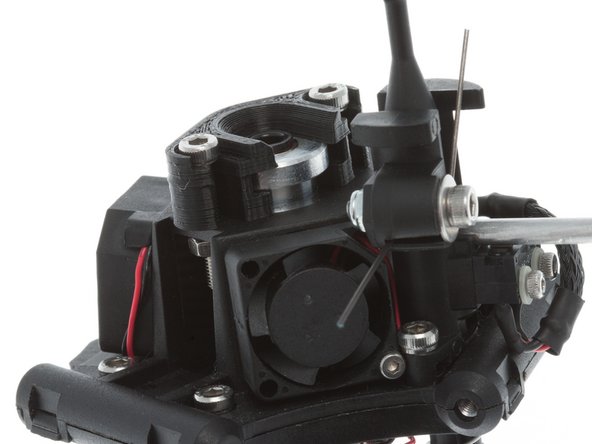
Insert the K-Head from the bottom of the end effector opening, until the bottom of the groove mount is flush with the top edge of the end effector.
-
-
-
Slide the bottom clamp on. This is the thicker of the two printed pieces.
-
-
-
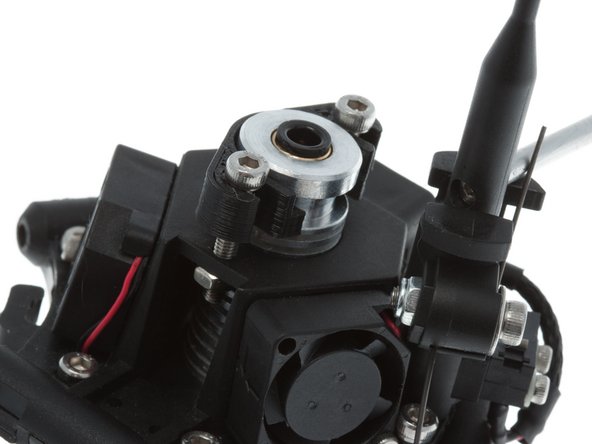
Install the top clamp; pull up on the clamp mounting screws and finger tighten the screws. We'll clamp the K-Head down in place in a minute, but for now we need to make sure that the heat block is oriented correctly in the end effector housing so it doesn't crash into the glass during auto levelling probe retract.
-
-
-
The long edge of the heater block should point straight back towards the Z-Axis when installed (aligned with the exhaust opening for the constant-on fan).
-
The firmware counts on this orientation during auto levelling probe retract - if it's rotated out of alignment, it can bang into the edge of the glass while trying to retract the auto probe.
-
Once aligned, tighten down the screws on the top (until the two pieces of printed plastics are touching) to apply clamping force to the K-Head heat sink to lock it from rotating.
-
-
-
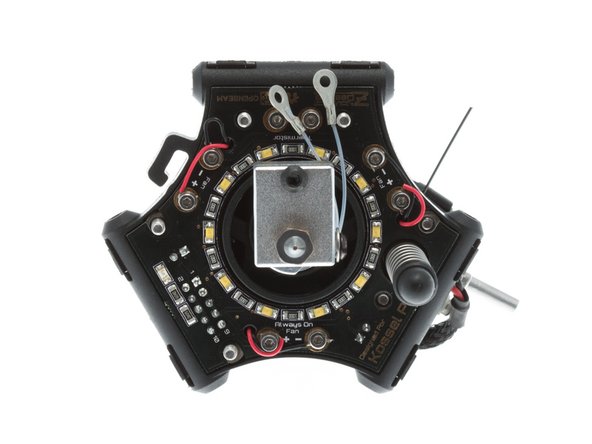
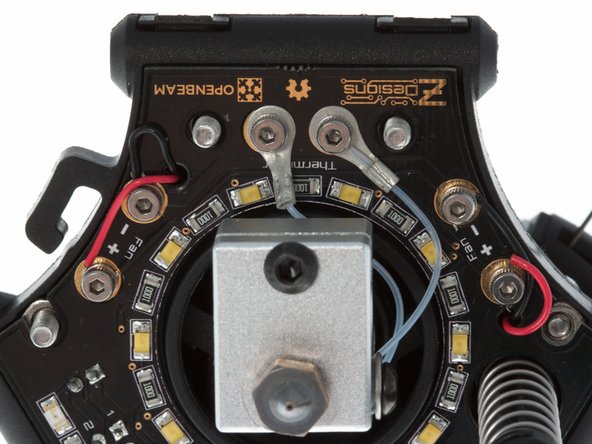
Using the 1.5mm Hex Driver, unscrew the two M2 screws for the Thermistor connector.
-
Thread the M2 screws through the eyelets of the thermistor, then tighten them down gently until the eyelets don't move. Ensure they don't touch any of the contacts on the LED ring.
-
-
-
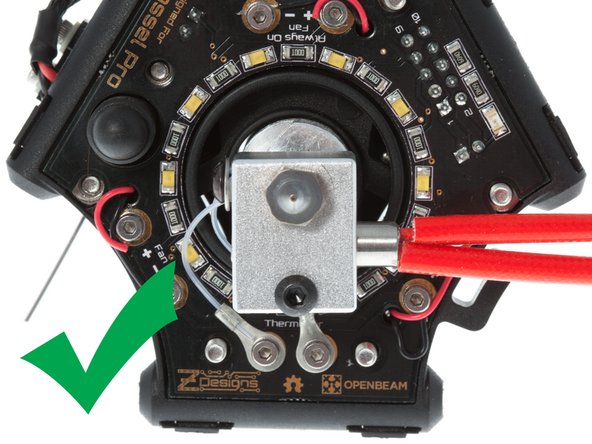
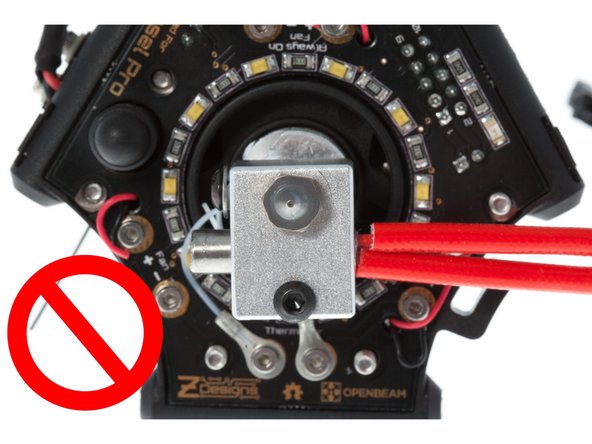
When installing the heater cartridge, verify that none of the heater cartridge protrudes beyond the heater block on the side where the auto probe is.
-
Failure to do this may result in a head crash, which will throw off the G29 results.
-
-
-
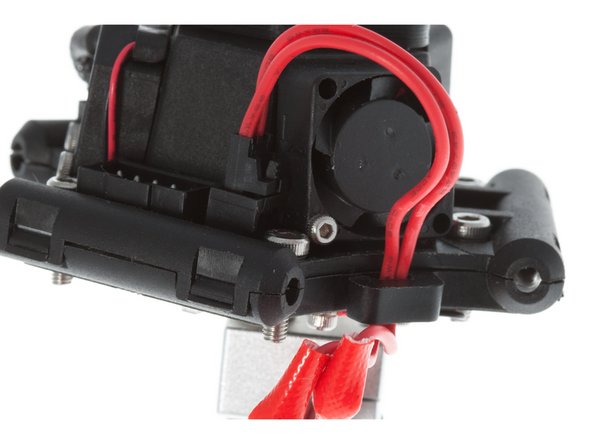
Connect the heater cartridge to the two pin header next to the 2x5 pin header.
-


Cancel: I did not complete this guide.
One other person completed this guide.
One Comment
Did I miss something somewhere? There are no instructions for installing the autolevelling probe. It's pretty obvious, but requires 2 M3-14 SCHS screws.
Also a couple of small M3 washers are useful for holding down the K-Head top clamps. I chewed through one of the clamp screw holes screwing it on the first time. These clamps should probably be injection molded rather than 3D printed, or the small washers included.
Dive Laser - Resolved on Release Reply